You can download the PDF file at the bottom of this article.
LOGIN
Open the shop page in a browser an add /typo3 to the URL. (https://xxx.skischool.shop/typo3)
The following login page opens:

Enter your user name and your password and click on

Backend Area
You are now in the backend area of your online shop 2.0.
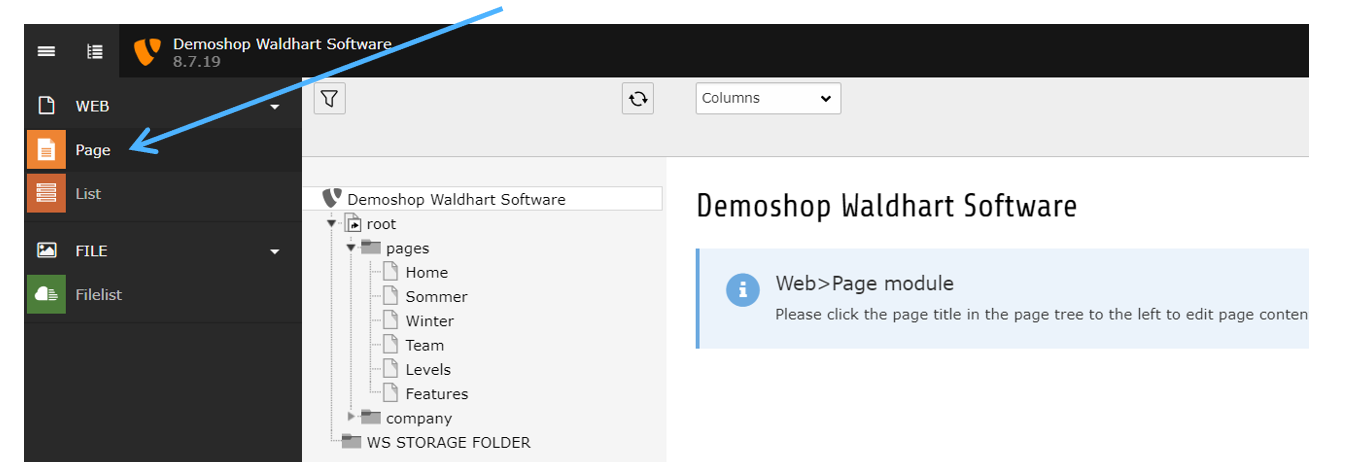
Change to “Page” on the left first. The menu items displayed (Page, List …) vary depending on the user rights assigned.
The page tree corresponds to the menu on your online shop. If you click on the -element, the submenu items of the respective page will show. Click on the desired page to edit the content.
Example:
This is what a backend area looks like when you have selected a page.
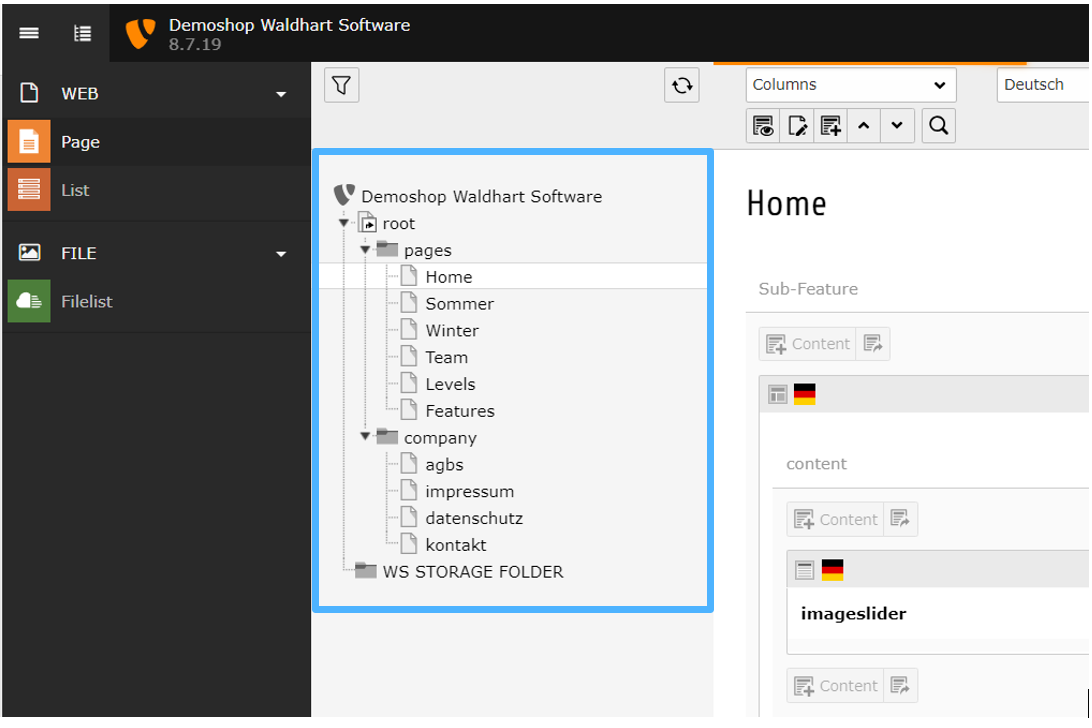
The structure of the area on the right varies depending on the structure of the online shop.
Symbols & Meanings
 |
Cache button: If you have made a change to the page, but this is not displayed on the page, you have to clear the cache so that the website can renew (e.g. for blog entries). |
 |
Edit element |
 |
Hide element |
 |
Show element |
 |
Create new element |
 |
Delete element |
 |
In the edit mode (e.g. in a text element): Left to right: close, save, save and view, save and create new element, save and close, delete. |
Edit Content
Text element

You can write as usual in the text window.
Attention: The formatting is adopted when pasting from Word or other writing programmes.
In this case, please mark the text and use the  symbol to delete the formatting.
Writing text bold or italic works like in Word: Mark the text and click on  or
or  . Then save and close the text.
Attention: These changes are displayed in the online shop immediately after they have been saved.
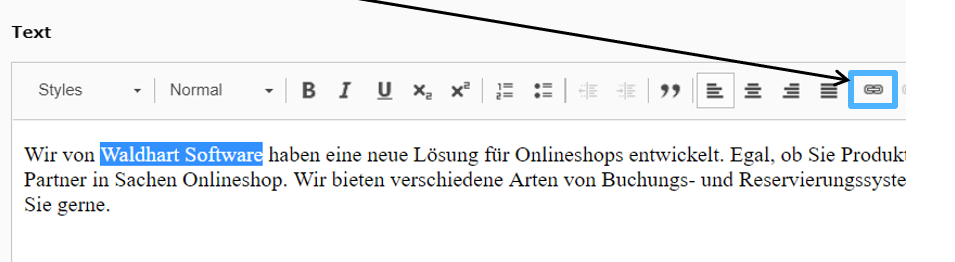
Add links
Mark the word or group of words you want to link.
Then click on the ”Add link” symbol. 
A window opens where the link type can be selected. Meaning of the different tabs:
Page: link to a page of the own online shop
File: link to e.g. an PDF
External URL: link to another website.
Insert the link in the URL, click on “Set link”, insert a title if you like and select “New window” in the target window (so that the link opens in a new window). If necessary, change the wording of the link in the text field.
Email: link an e-mail address
Add e-mail address, “Set link” and add a title of your choice.
Create new page
The easiest way is to copy an existing page (as similar as possible in terms of structure). To do this, right click on the desired page and select “Copy”).
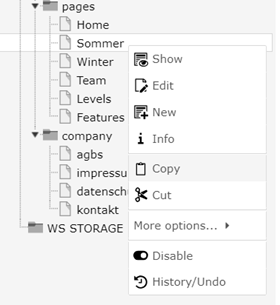
Then the copied page can again be pasted at the desired location with a right click.
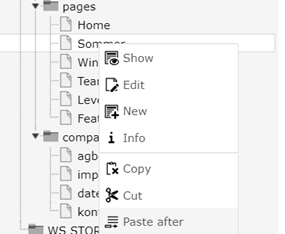
With "Paste after" the page is pasted behind the one currently selected with a right click, "Paste into" creates a new subpage of the currently selected page.